Hey there, fellow garden enthusiasts! I'm a supplier of garden tools, and I know how important it is to have sharp and efficient tools for your garden work. Today, I'm going to share with you how to sharpen a sickle, a classic garden tool that's super handy for cutting grass, weeds, and small branches.
Why Sharpen Your Sickle?
First off, let's talk about why sharpening your sickle is a big deal. A dull sickle can make your garden work a real pain. It won't cut cleanly, so you'll have to put in more effort, and it might even damage the plants you're trying to trim. On the other hand, a sharp sickle cuts smoothly and easily, saving you time and energy. Plus, it does a better job of maintaining the health of your plants by making clean cuts.
What You'll Need
Before we get started, you'll need a few things:
- A sharpening stone: You can find these at most hardware stores. A medium-grit stone is usually a good choice for general sharpening.
- A file: A round file can be useful for getting into the curved part of the sickle blade.
- Safety gloves: To protect your hands from any accidental cuts.
- A bucket of water: This is for cooling the blade as you sharpen it and preventing it from overheating.
Step-by-Step Sharpening Process
Step 1: Prepare Your Workspace
Find a flat and stable surface to work on. Lay out your tools and put on your safety gloves. Fill the bucket with water and place it nearby.
Step 2: Inspect the Sickle
Take a good look at your sickle blade. Check for any nicks, chips, or signs of excessive wear. If there are any major damages, you might need to do some extra work or even consider replacing the blade.
Step 3: Start with the File
If the sickle has a very dull edge or some minor nicks, start by using the round file. Hold the sickle firmly in one hand and the file in the other. Place the file against the curved part of the blade at a slight angle. Then, move the file along the blade in a smooth, even motion. Make sure to file in the same direction as the blade's curve. Do this several times on each side of the blade, but be careful not to file too much and change the shape of the blade.
Step 4: Use the Sharpening Stone
Now it's time to use the sharpening stone. Wet the stone with water from the bucket to lubricate it. Hold the sickle at a consistent angle against the stone. A good starting angle is around 20 - 25 degrees, but you might need to adjust it depending on the type of sickle.
Start at the base of the blade and move the sickle along the stone in a circular or back-and-forth motion. Apply light pressure and make sure to cover the entire length of the blade. Keep the blade wet by dipping it in the water bucket occasionally to prevent overheating.
Repeat this process on the other side of the blade, maintaining the same angle. Sharpen the blade for several minutes, checking the edge regularly to see if it's getting sharp. You can test the sharpness by gently running your finger (be very careful!) along the edge. If it catches slightly, it's getting there.
Step 5: Fine-Tuning
Once you're happy with the overall sharpness, you can do some fine-tuning. You can use a finer-grit sharpening stone or a honing rod to give the blade an even smoother and sharper edge. Just follow the same process as before, but with a lighter touch.
Step 6: Clean and Test
After sharpening, clean the sickle blade with a cloth to remove any metal shavings or debris. Then, give it a test run in your garden. Try cutting some grass or a small branch to see how well it performs. If it cuts smoothly and easily, you've done a great job!
Tips and Tricks
- Keep the Angle Consistent: Maintaining a consistent angle while sharpening is crucial for getting an even edge. You can use a sharpening guide if you're having trouble with this.
- Take Breaks: Sharpening can be a bit of a workout, so take breaks if you start to feel tired. This will also help you maintain your focus and prevent accidents.
- Store Your Sickle Properly: After using your sharpened sickle, make sure to clean it and dry it thoroughly. Store it in a dry place to prevent rusting.
Other Great Garden Tools
As a garden tools supplier, I also want to mention some other great tools that can make your garden work even easier. Check out our Red-handled Pruning Shears. These shears are perfect for trimming branches and shaping your plants. They have a sharp blade and a comfortable grip, so you can work for longer without getting tired.
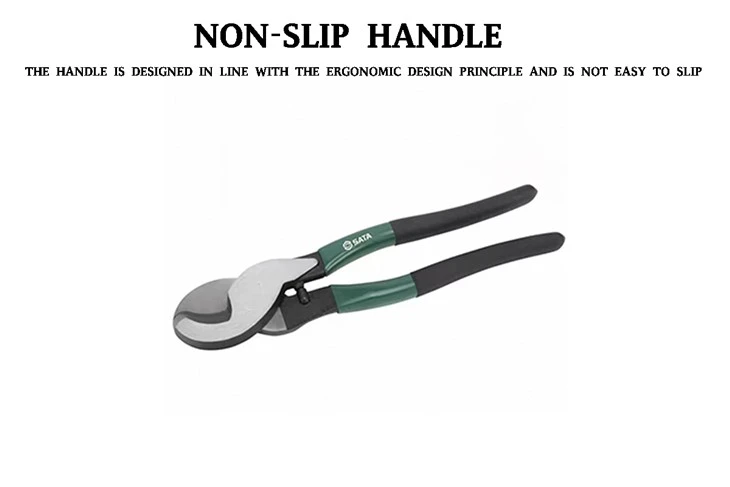

Another useful tool is our Hollow Drum Hammer. This hammer is great for driving stakes into the ground or breaking up small rocks in your garden. It's lightweight and easy to handle.
And if you're working on some glass-related projects in your garden, like installing a greenhouse or a window, our Single-head Glass Suction Cups are a must-have. They provide a strong and secure grip on glass surfaces, making it easier to move and install glass panels.
Let's Connect
If you're interested in purchasing any of our garden tools or have any questions about sharpening or using them, don't hesitate to reach out. We're always here to help you find the right tools for your garden and make your gardening experience more enjoyable.
References
- "The Complete Guide to Garden Tool Maintenance" - A popular gardening book that provides in - depth information on tool care.
- Online gardening forums where experienced gardeners share their tips and tricks on tool sharpening.